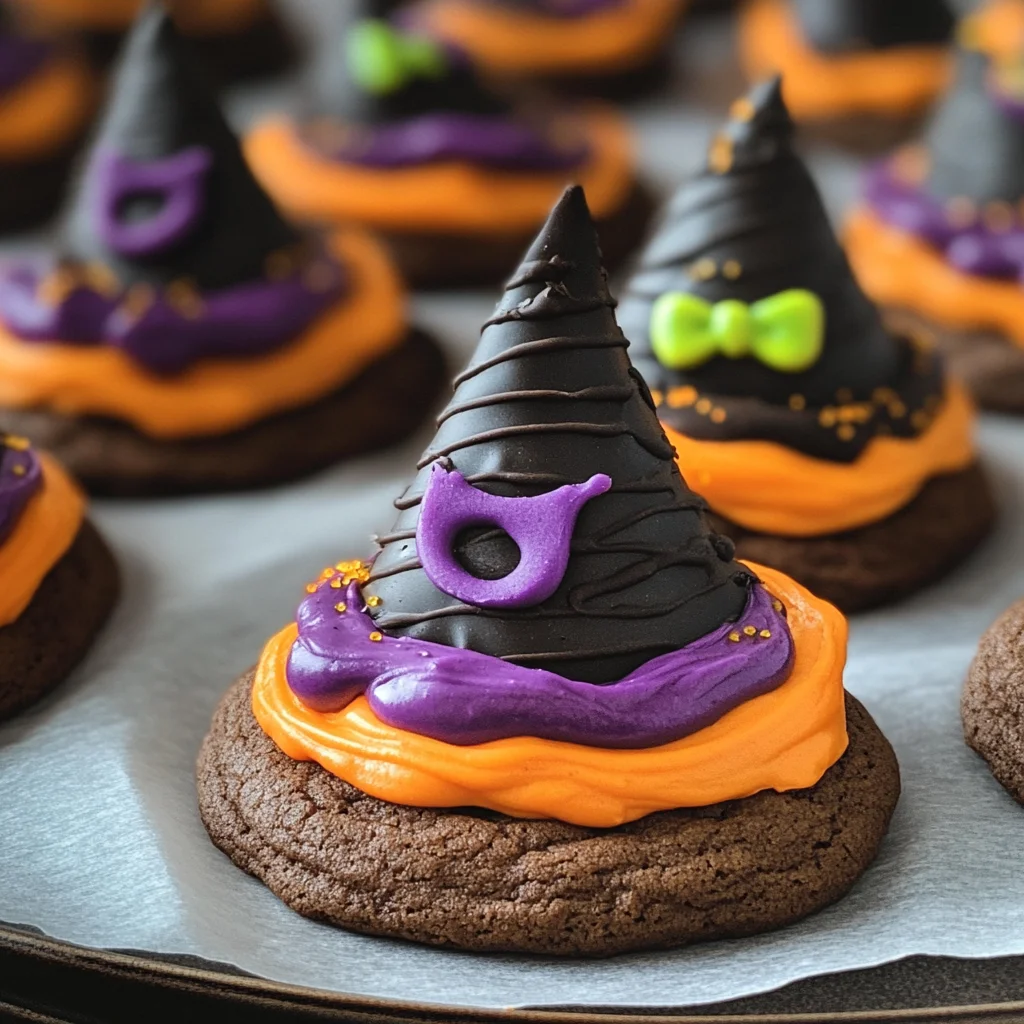
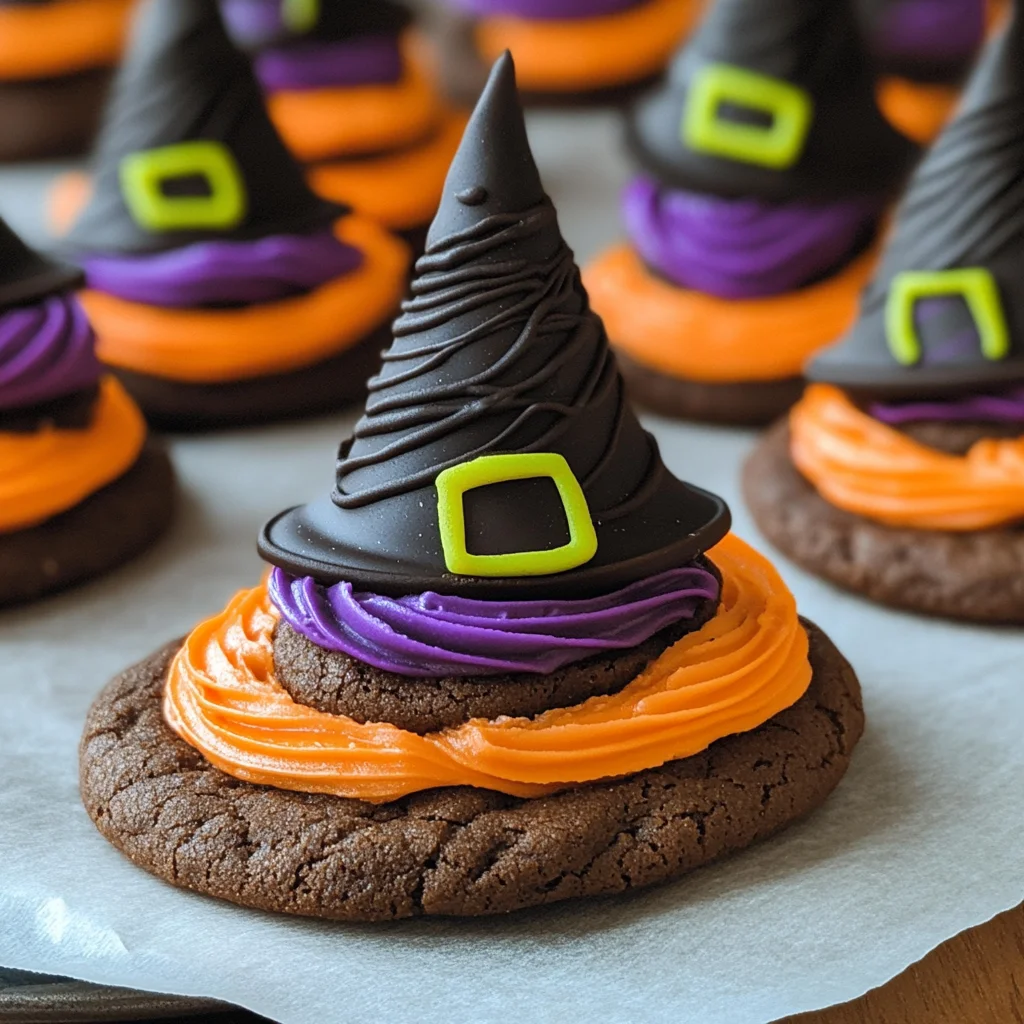
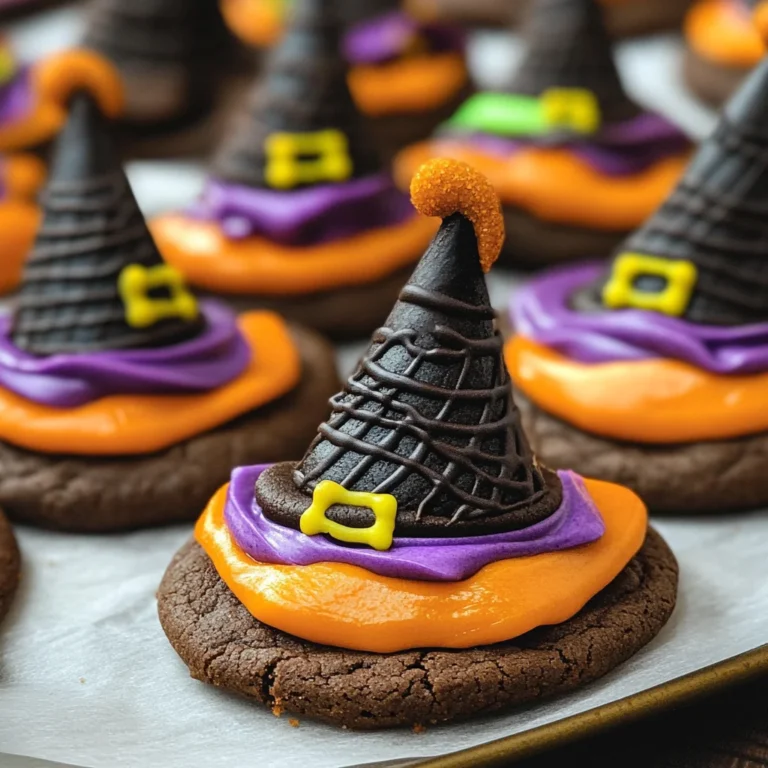
These Halloween Witch Hat Cookies are a delightful treat that will enchant your Halloween gatherings. With their charming appearance and delectable taste, they make the perfect project to do with kids. Not only are they visually stunning, but they also allow for endless customization, ensuring every cookie is a unique masterpiece. Whether for a party or a fun family activity, these cookies are sure to impress both young and old ghouls alike.
Why You’ll Love This Recipe
- Fun to Make: Creating these witch hat cookies is an enjoyable experience for the whole family. Kids will love helping to decorate!
- Customizable Designs: You can personalize the colors and decorations to match any Halloween theme or party.
- Deliciously Chocolatey: The combination of chocolate cookies and cake mix provides a rich and satisfying flavor that everyone will love.
- Perfect for Parties: These cookies are eye-catching and make a great addition to any Halloween dessert table.
- Easy Instructions: The step-by-step guide ensures even novice bakers can create these spooky treats without stress.
Tools and Preparation
To create your Halloween Witch Hat Cookies, you’ll need some essential tools. Having the right equipment makes the baking process smoother and more enjoyable.
Essential Tools and Equipment
- Cupcake Cones Baking Rack
- Parchment Paper
- Decorating Bags
- Icing Tips (2B and 3)
Importance of Each Tool
- Cupcake Cones Baking Rack: This specialized rack holds sugar cones upright while you bake, ensuring they maintain their shape.
- Parchment Paper: Perfect for preventing sticking, parchment paper helps in easy cleanup when decorating your cookies.
- Decorating Bags: These bags allow you to pipe icing precisely, making it easy to create beautiful designs on your cookies.

Ingredients
To make these delightful Halloween Witch Hat Cookies, gather the following ingredients:
For the Cookie Base
- Favorite Cake Mix or Try Wilton’s Chocolate Cake Recipe
- Store Bought Chocolate Cookies or Try This Recipe from Wilton
For the Icing Colors
- Lemon Yellow Icing Color
- Black Color Mist Food Coloring Spray
- Rose Icing Colors Pink Food Coloring
- Violet Icing Color, Gel Food Coloring
- Golden Yellow Icing Color
- Orange Icing Color
For Assembly
- Sugar Cones
- Creamy White Decorator Icing, 4 lb. Tub
How to Make Halloween Witch Hat Cookies
Step 1: Prepare & Bake the Cones
- Prepare the cake mix according to your chosen recipe’s instructions.
- Place the Cupcake Cones Baking Rack on a cookie sheet.
- Insert sugar cones into the rack and fill each cone with 2 tablespoons of cake batter.
- Bake according to your recipe’s timing instructions and let cool.
Step 2: Spray the Cones
- Trim any excess risen cake at the top of each cone with a knife if necessary.
- Place cones wide side down on parchment paper.
- Using Black Color Mist, spray each cone black and allow them to dry for about 10 to 15 minutes.
Step 3: Tint the Icing & Prepare the Bags
- Tint 1 cup of creamy white decorator icing orange.
- Tint another cup of icing purple by mixing violet and rose colors together.
- Prepare two decorating bags with tip 2B; fill them separately with orange and purple icing.
- Tint ¼ cup of creamy white decorator icing yellow by mixing golden yellow and lemon yellow icing colors; place it in a bag with tip 3 attached.
Step 4: Assemble the Witch Hats
- Pipe a small amount of orange icing onto the center of a cookie.
- Place a prepared cone on top of this cookie.
- Using tip 2B, pipe a band around the wide end of half of the cones, smoothing it out with a spatula.
- Repeat this step using purple icing on the remaining cones.
- Allow them to set for about 15-20 minutes before piping a yellow buckle around each hat’s band using tip 3.
- Let them set for another 15-20 minutes before enjoying your spooky creations!
How to Serve Halloween Witch Hat Cookies
These Halloween Witch Hat Cookies are a delightful treat that can add a festive touch to any gathering. Here are some fun serving suggestions to enhance your Halloween festivities.
Fun Halloween Plates
- Use themed plates decorated with ghosts or pumpkins for an eye-catching presentation.
Spooky Cupcake Stands
- Display the cookies on tiered cupcake stands, creating a visually appealing centerpiece for your dessert table.
Accompanying Drinks
- Pair the cookies with spooky drinks like colored punch or themed smoothies to create a complete Halloween experience.
Treat Bags for Guests
- Package individual cookies in colorful bags tied with ribbons for guests to take home after the party.
Cookie Decorating Station
- Set up a DIY decorating station where guests can add their own icing and toppings to personalize their witch hats.
How to Perfect Halloween Witch Hat Cookies
Perfecting your Halloween Witch Hat Cookies can make them even more delightful. Here are some tips to ensure they turn out great every time.
- Use Fresh Ingredients: Always check the freshness of your cake mix and icing colors for the best flavor and color vibrancy.
- Chill Icing Before Use: Chilling the decorator icing can make it easier to pipe and help maintain its shape when applied.
- Pipe Slowly: Take your time when piping the icing around the cones and cookies for clean, smooth lines.
- Experiment with Colors: Don’t hesitate to mix different icing colors to create unique designs that match your theme.
- Store Properly: Keep any leftover cookies in an airtight container at room temperature for up to a week.
Best Side Dishes for Halloween Witch Hat Cookies
Complement your sweet treats with some savory side dishes that will delight your guests. Here are some perfect pairings.
- Pumpkin Soup – A creamy, spiced pumpkin soup that warms up any chilly fall evening.
- Ghost-Shaped Sandwiches – Cut sandwiches into ghost shapes using cookie cutters, filled with favorite spreads like hummus or cream cheese.
- Witch’s Brew Chili – A hearty chili packed with beans and veggies, perfect for keeping spirits high.
- Mummy Hot Dogs – Wrap turkey or beef hot dogs in crescent dough strips, bake until golden brown, and add mustard eyes.
- Spooky Veggie Platter – Arrange assorted veggies in a ghostly shape, served with a delicious dip like ranch or hummus.
- Cauldron of Fruit Punch – Create a refreshing fruit punch served in a cauldron-style bowl for added flair at your party.
- Creepy Cheese Platter – Offer assorted cheeses paired with crackers and dried fruits, arranged artfully for visual appeal.
- Baked Potato Skins – Crispy potato skins topped with cheese, green onions, and sour cream make a satisfying snack option.
Common Mistakes to Avoid
When making Halloween Witch Hat Cookies, it’s easy to overlook some key steps. Here are common mistakes to watch out for.
Not measuring ingredients properly: Accurately measure your cake mix and icing colors for consistent results. Use measuring cups and spoons instead of guessing.
Skipping the cooling time: Allow the sugar cones to cool completely before decorating. This prevents melting the icing and ensures a neat finish.
Using the wrong piping tip: Ensure you use the correct decorating tips for piping your icing. This will help achieve the desired look and prevent messiness.
Over-spraying the cones: When using Black Color Mist, apply it in light layers. Too much can lead to drips and uneven coloring.
Not letting the icing set: Allow sufficient time for each layer of icing to set before adding more decorations. This helps maintain structure and appearance.

Storage & Reheating Instructions
Refrigerator Storage
- Store cookies in an airtight container.
- They will last up to 5 days in the refrigerator.
Freezing Halloween Witch Hat Cookies
- Freeze individually wrapped cookies for best results.
- They can be stored in the freezer for up to 3 months.
Reheating Halloween Witch Hat Cookies
- Oven: Preheat to 350°F (175°C). Place cookies on a baking sheet for about 5-10 minutes until warm.
- Microwave: Heat one cookie at a time in short bursts of 10-15 seconds until warm.
- Stovetop: Use a skillet over low heat, covering with a lid for about 1-2 minutes, checking frequently.
Frequently Asked Questions
What are Halloween Witch Hat Cookies?
Halloween Witch Hat Cookies are fun, themed treats made with chocolate cookies topped with cake-filled sugar cones, decorated with colorful icing.
How can I customize my Halloween Witch Hat Cookies?
You can customize your cookies by using different colors of icing or adding sprinkles. Feel free to get creative with designs!
Can I use homemade cookies instead of store-bought?
Absolutely! You can use any favorite chocolate cookie recipe as a base for your witch hats. Just ensure they are sturdy enough to hold the cone.
How do I store leftover Halloween Witch Hat Cookies?
Store any leftovers in an airtight container in the refrigerator for up to five days or freeze them for later enjoyment.
Are these cookies suitable for kids to make?
Yes! Making Halloween Witch Hat Cookies is a fun activity for kids, allowing them to get creative with decorating while having a spooky good time!
Final Thoughts
These Halloween Witch Hat Cookies are not just adorable; they’re also versatile and easy to customize. Perfect for parties or family gatherings, they are sure to delight both kids and adults alike. Give this recipe a try, and let your imagination soar when decorating!

Halloween Witch Hat Cookies
Create spooky fun with these delicious Halloween Witch Hat Cookies! Perfect for parties—try making them today!
- Total Time: 45 minutes
- Yield: Approximately 12 cookies
Ingredients
- Chocolate cake mix or store-bought chocolate cookies
- Sugar cones
- Creamy white decorator icing
- Lemon yellow icing color
- Black color mist food coloring spray
- Rose icing colors (pink food coloring)
- Violet icing color (gel food coloring)
- Golden yellow icing color
- Orange icing color
Instructions
- Prepare cake mix as per instructions and fill sugar cones with batter.
- Bake cones upright on a baking rack until done; let cool.
- Trim any excess risen cake at the top of each cone with a knife if necessary.
- Using black color mist, spray each cone black and allow them to dry for about 10 to 15 minutes.
- Tint 1 cup of creamy white decorator icing orange and prepare two decorating bags with tip 2B.
- Pipe a small amount of orange icing onto the center of a cookie and place a prepared cone on top.
- Pipe a band around the wide end of half of the cones with orange icing and the other half with purple icing.
- Allow them to set for about 15-20 minutes before piping a yellow buckle around each hat's band.
- Let them set for another 15-20 minutes before enjoying your spooky creations!
- Prep Time: 30 minutes
- Cook Time: 15 minutes
- Category: Dessert
- Method: Baking
- Cuisine: American
Nutrition
- Serving Size: 1 cookie (40g)
- Calories: 150
- Sugar: 12g
- Sodium: 95mg
- Fat: 6g
- Saturated Fat: 2g
- Unsaturated Fat: 3g
- Trans Fat: 0g
- Carbohydrates: 22g
- Fiber: 1g
- Protein: 2g
- Cholesterol: 15mg
